+86- 15030729981
www.zeushebei.com
www.zeushebei.com
Economic Development Zone, Cang City, Hebei Province, China.

Views: 149 Author: Site Editor Publish Time: 2026-03-23 Origin: Site
Experts recommend a quick clean every week and a deep clean once a month to effectively combat disease and pests.
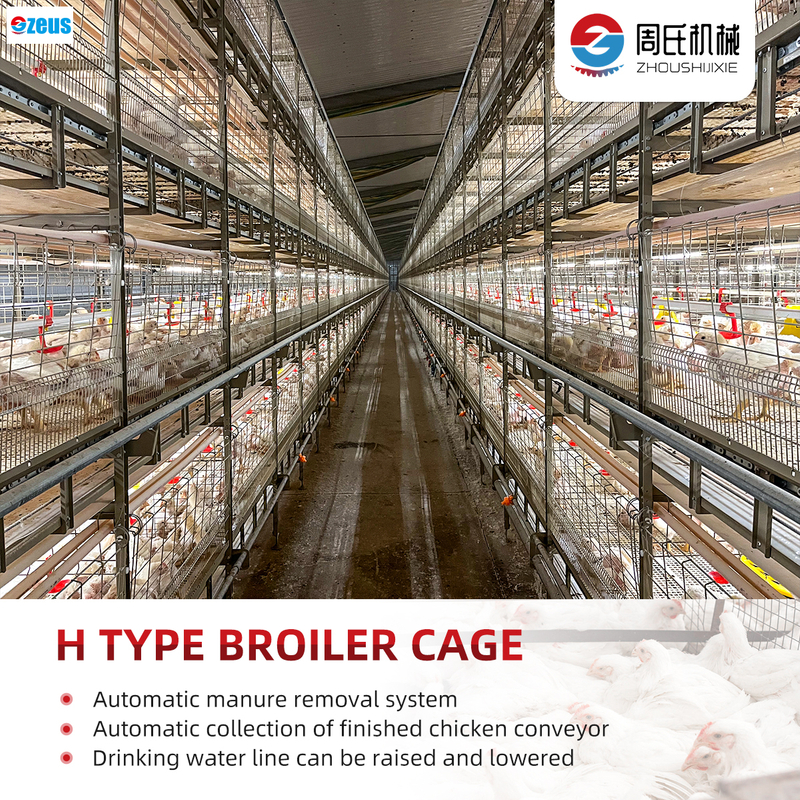
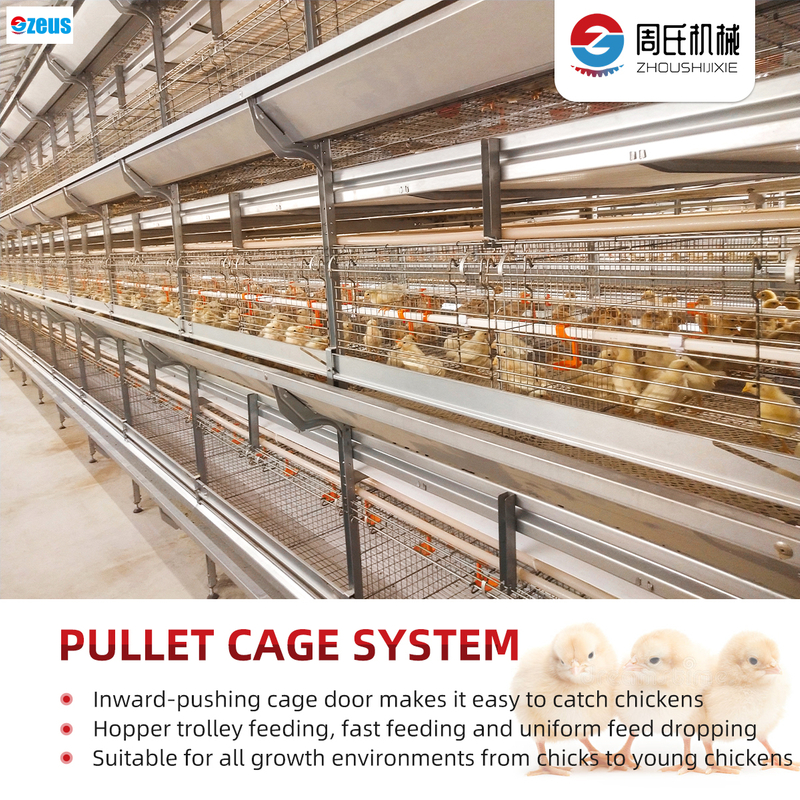
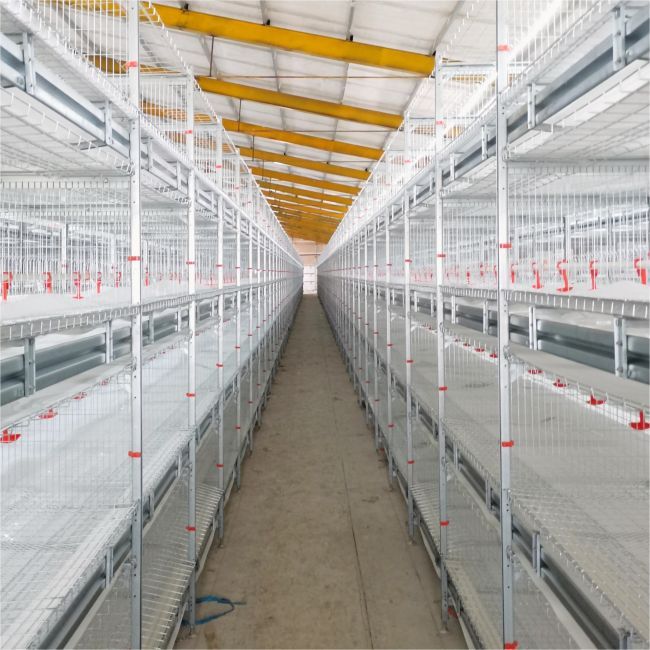
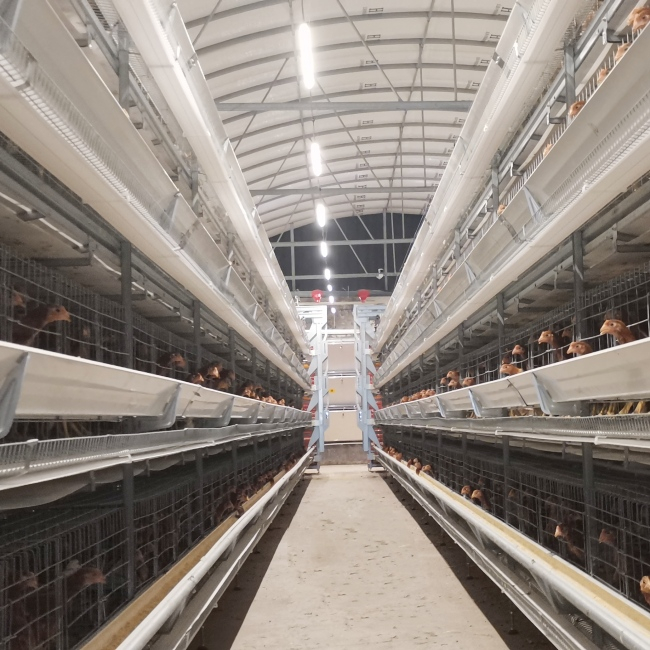
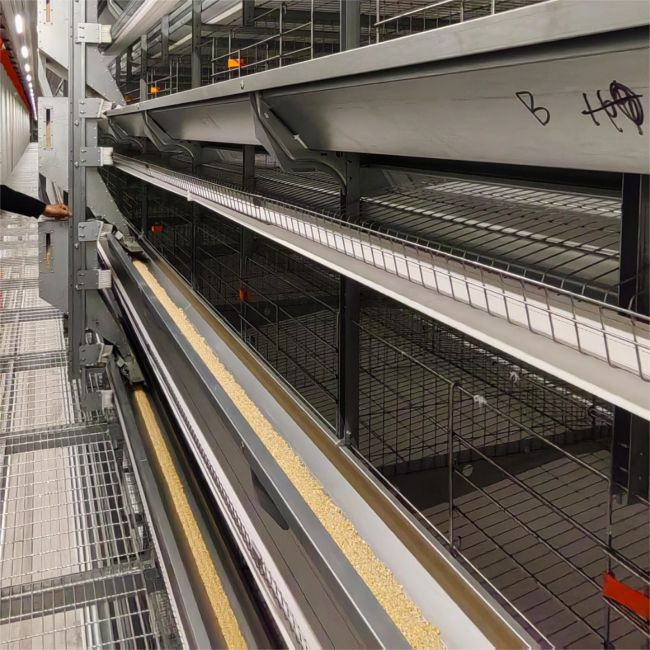
For those seeking easier poultry care, ZEUS Machinery offers a range of tools designed to meet your needs. Their equipment can significantly assist you in maintaining your chicken coop.
To keep your chickens healthy, it’s important to clean your chicken coop regularly. Perform a quick clean every day and a more thorough deep clean once a month to help prevent sickness. Before you start, gather all the necessary tools and wear your safety gear to ensure a safe and efficient cleaning process. Use safe, gentle cleaners like white vinegar and mild soap, as harsh chemicals can harm your chickens. Cleaning should be done step-by-step: first, remove the chickens, dispose of any waste, scrub all surfaces thoroughly, and finally, replace the old bedding with fresh material.
Getting ready to clean your chicken coop makes the job much easier and safer. Let’s break down what you need to do before you start scrubbing.
You want to have everything on hand before you begin. Here’s a handy list of what you’ll need:
Rubber gloves and boots
Mask and safety goggles
Rake, shovel, and broom
Scrub brush
Towels or paper towels
Spray disinfectant
Paint scraper
Hose or power washer (if you have one)
Tools for repairs, like wood, wire, caulk, hammer, and nails
Having these supplies ready helps you work faster and keeps your chicken coop in top shape.
Cleaning a chicken coop can expose you to dust, germs, and even harmful bacteria. You should always wear the right gear to protect yourself. Here’s a quick guide:
Protective Gear | Purpose |
|---|---|
Protective clothing | Covers your body and prevents contamination |
Safety goggles | Shields your eyes from dust and cleaners |
Rubber boots | Keeps your feet dry and safe from waste |
Rubber gloves | Protects your hands from germs and chemicals |
Mask | Guards your lungs from dust and fumes |
Skipping protective gear can put you at risk for illnesses like Salmonella, E. Coli, and even avian flu. Symptoms can include fever, stomach cramps, and diarrhea. So, gear up before you get started.
You want to use cleaners that are tough on germs but gentle for your chickens. Many chicken keepers use:
White vinegar
Dawn dish soap
Herbal cleaners
These options clean well and won’t harm your flock. Avoid harsh chemicals, as they can leave behind fumes or residues that are unsafe for chickens.
If you want to make cleaning even easier, consider using equipment from companies like ZEUS Machinery. They offer tools and solutions that help you keep your coop clean and your chickens healthy.
Cleaning your chicken coop can feel like a big job, but breaking it down into simple steps makes it much easier. Let’s walk through each part together.
Start by moving your chickens to a safe spot outside the coop. This keeps them away from dust and cleaning products. Take out all feeders, waterers, nesting boxes, and any toys or perches. You want a clear space so you can reach every corner.
Old bedding and chicken droppings can carry germs and attract pests. You need to get rid of them the right way to protect your flock and the environment. Here are some smart options:
Composting: Turn bedding and manure into rich soil for your garden. Keep the compost moist but not soggy, and aim for a carbon-to-nitrogen ratio between 15 and 23:1. Use a thermometer to check that the pile heats up to 135–160°F in the first few days.
Anaerobic digestion: This method breaks down waste without oxygen, creating biogas and liquid fertilizer.
Land application: Spread poultry waste on fields as fertilizer, but only if local rules allow it.
Regular cleaning: Remove waste often to keep your chicken coop healthy.
Biosecurity measures: Always wash your hands and boots after cleaning to stop disease from spreading.
If you use dropping boards under the roosts, scrape them clean and replace the absorbent lining. Dropping boards help control odors and make cleaning faster.
Now it’s time to tackle the dirt and germs. Use a broom or shop-vac to sweep out loose debris. Spray the inside of the chicken coop with a hose or power washer to loosen caked-on grime. Mix equal parts white vinegar and water in a spray bottle and use it to scrub surfaces. This natural cleaner breaks down dirt and neutralizes odors.
For tough pathogens like Salmonella and E. coli, you might want to use a stronger disinfectant. Here’s a quick guide:
Disinfectant Combination | Effectiveness Against Pathogens |
|---|---|
Glutaraldehyde + Quaternary Ammonium | Commonly used |
Formaldehyde | Greater reduction of Salmonella |
Peracetic Acid + Hydrogen Peroxide | Best results in some studies |
Virkon S | Effective against Salmonella and E. coli |
Virkon S works against many viruses, bacteria, and fungi. After applying any disinfectant, let it sit for at least 10 minutes. This gives it time to kill germs. If the coop is very dirty, check the product label for longer contact times.
Feeders and nesting boxes need special attention. Clean them every week to stop mold and bacteria from growing. Remove all bedding and droppings. If you spot dirty eggs or bugs, clean the boxes right away.
Here’s how to get rid of stubborn messes:
Spray feeders and boxes with a mix of white vinegar and water.
Scrub with a brush to break down grime.
Rinse with clean water and let everything dry.
Check for dampness or mold while you clean. Replace bedding with fresh straw or shavings. Droppings boards under roosts make this job easier and help keep the chicken coop tidy.
Let all surfaces dry completely before you put anything back. Moisture can weaken disinfectants and encourage mold. Drying also keeps your chickens comfortable.
When you’re ready to reassemble, follow these steps:
Dust walls, beams, and corners with a natural pest control powder like First Saturday Lime. This helps keep mites and bugs away.
Install nesting boxes made of sturdy materials, such as galvanized steel. Secure them tightly to the wall studs.
Fill each box with fresh wood shavings.
Rake bedding evenly across the floor.
Refresh food and water supplies.
Add droppings boards and flat board roosts for easy cleaning and comfort.
Nesting boxes with rolled metal edges prevent injuries, and easy-to-remove bottoms make cleaning simple. Fresh bedding keeps the chicken coop dry and cozy.
Spot cleaning every day keeps your flock healthy and your coop smelling fresh. When you scoop out droppings and wet bedding, you stop bacteria and parasites from building up. This simple habit also helps you catch any health problems early. Here’s what you gain from a daily spot clean:
Healthier chickens—less risk of illness from germs and parasites
Fewer pests like rodents and mites
Better odor control and less ammonia in the air
You can use a small rake or scoop to remove waste. Droppings boards under the roosts make this job even easier. Sand as bedding dries out droppings fast, so you spend less time cleaning and more time enjoying your flock.
A weekly tidy-up and a monthly deep clean keep your chicken coop in top shape. Each week, replace soiled bedding, wipe down surfaces, and scrub feeders and waterers. Once a month, remove all bedding and give the coop a thorough wash.
Some chicken keepers use the deep litter method. This means you add fresh bedding on top of old layers, letting it break down naturally. Here’s how it compares to traditional cleaning:
Aspect | Deep Litter Method | Traditional Cleaning |
|---|---|---|
Cleaning Frequency | Few times a year | Weekly or monthly |
Labor Efficiency | Saves time | More work |
Chicken Health Outcomes | Natural bacteria boost vitamins | Less stress from handling |
Disease Risk | Higher if not managed well | Lower with regular cleaning |
Respiratory Issues | More dust possible | Less dust |
Nutritional Benefits | Extra B2 and B12 from litter bacteria | Not applicable |
You can make coop care simple with the right tools and tricks. Droppings boards and removable roosts help you clean fast. Sand bedding keeps things dry and reduces bacteria. A coop duster or brush lets you sweep away cobwebs and dust in minutes.
Regular maintenance means healthier chickens, fewer pests, and better egg production. If you want to make cleaning even easier, ZEUS Machinery offers smart poultry equipment and custom solutions for every farm size. Their products help you save time and keep your flock happy.
Keeping your chicken coop clean keeps your chickens healthy and happy. Take out dirty bedding, scrub all surfaces, and let fresh air in. This stops problems like ammonia from building up. Here’s a simple cleaning guide:
Task Frequency | What to Do |
|---|---|
Daily | Take out wet bedding, refill water, check feeders |
Weekly | Scrub feeders, remove extra manure |
Monthly | Deep clean coop, change all bedding |
A clean coop means less sickness, easier waste removal, and better eggs. You will see your chickens do well. If you want cleaning to be easier, ZEUS Machinery has smart tools to help you care for your flock with less work.
You should spot clean your chicken coop every day. Plan a deep clean once a month. This keeps your chickens healthy and helps prevent bad smells or pests.
Pine shavings, straw, and sand all work well. Sand dries quickly and makes cleaning easier. Choose bedding that fits your climate and is safe for your flock.
You can use bleach, but rinse everything well and let it dry before letting chickens back in. Safer options include white vinegar or mild dish soap. Avoid strong fumes.
Remove food scraps, clean up droppings, and use natural powders like diatomaceous earth. Check for holes or gaps where pests might sneak in. Good cleaning habits help a lot.
Bad smells mean you need to clean more often. Remove wet bedding, add fresh material, and open windows for airflow. A clean chicken coop smells fresh and keeps your flock happy.